🟡 Two objects, two input rules
A jump pad triggers through contact; it does not need a separate press to supply its effect. A jump orb, also called a ring, needs a valid input in its activation area. Position the icon for the intended object before deciding whether to press.
The visual ring is therefore an opportunity to act, not an automatic bounce. Reaching it while continuing an earlier hold may not produce the fresh activation you expected. The exact buffering behavior depends on the form, settings, and build.
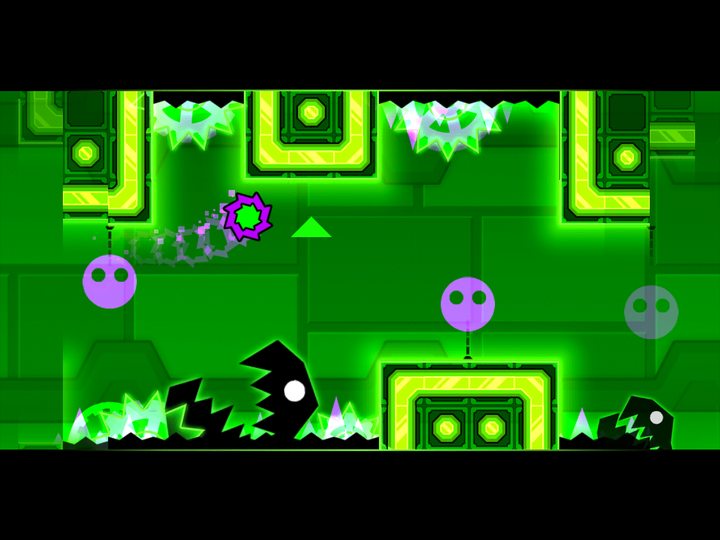
 Geometry Dash green jump orb
Read the destination first
Before choosing a tap, find where the object sends you. The useful question is not simply “Can I activate this?” It is “Will activating it put me on a safe line?”
A ring can be optional, and a visible ring can lead to a bad route if used at the wrong moment. Do not build a habit of pressing every time a bright circle appears.
🌈 Common effects worth recognizing
| Object family | Typical role | What to check next |
|---|---|---|
| Yellow jump object | A jump boost away from the supporting surface under ordinary gravity rules | The height of the next ceiling and the landing |
| Pink jump object | A smaller jump boost than yellow in comparable conditions | Whether a low passage needs that shorter arc |
| Red jump object | A stronger jump boost than yellow in comparable conditions | Whether the extra lift overshoots the safe opening |
| Blue gravity object | A gravity change | Which surface becomes the destination |
| Green orb | Combines a jump effect with a gravity change | The resulting path rather than color alone |
| Black orb | A sharp action in the direction of gravity, rather than always screen-down | The safe opening in the direction of gravity |
This is a recognition guide, not a full physics specification. Different game forms and gravity states can change how an effect appears. The browser adaptation does not contain every object from later editions.
Dash orbs are a separate interaction: their dash continues while the main action is held. Do not apply the “tap once, then wait for a jump arc” explanation to a held dash.
🔍 If the ring does nothing
Confirm overlap
A press before reaching the activation area can simply be too early.
Separate the input
Release the previous action and test a clear tap within contact.
Check the approach
The preceding pad or jump may have placed you outside the route you were trying to follow.
If the ring sends you into danger
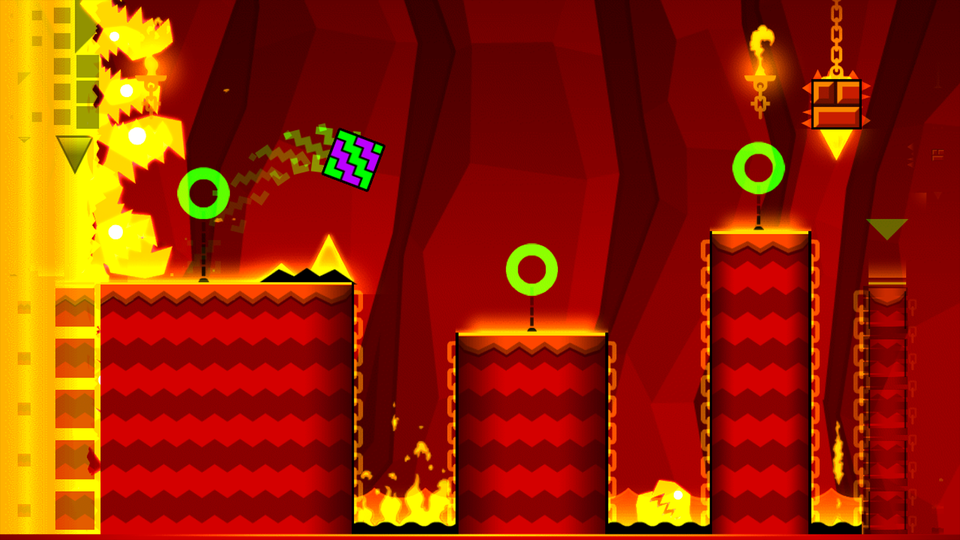
Look at the activation point. Triggering near the start or end of contact can produce a different path through the next obstacle. Keep the preceding jump fixed while you test the ring timing.
Also check whether the ring should be skipped. Coin paths and alternate routes can use an object that is not part of the easiest completion line. Learn the normal route before combining it with optional objects.